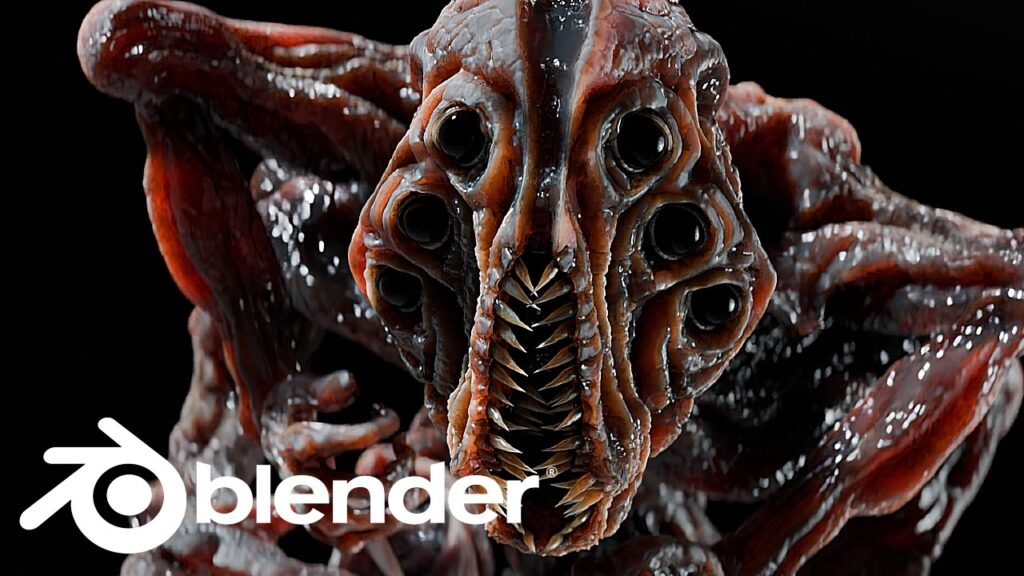
Building a believable monster in Blender takes more than a scary sculpt. You need solid anatomy, smart topology, and materials that hold up under render. FxForge’s Blender Monster VFX Tutorial walks through that whole process, start to finish, using one creature as the example.
The Full Creature Workflow, Step by Step
- Sculpting the base form: FxForge starts with a simple mesh and pushes it into shape using snake hook, clay strips, and crease brushes, with dynamic topology and X-axis symmetry turned on.
- Designing the creature: The sculpt grows into an alien-looking being with two sets of arms, big ones for power and smaller ones for fine motor tasks. The advice: learn real anatomy first, then break the rules on purpose.
- Cleaning up the mesh: The high-poly sculpt gets retopologized in Instant Meshes, then mirrored and split into a low-poly base and a separate high-detail version, so animation stays light while detail stays sharp.
- Painting the skin: Custom skin brushes built from Voronoi textures and displacement modifiers add pores and texture, with ambient occlusion and normal maps baked in for extra depth.
- Shading and materials: Subsurface scattering sells the skin, transmission gives the eyes a wet look, and bump mapping handles the fine surface detail.
- Rigging and animation: A mirrored armature covers the spine, limbs, and hands. Surface deform modifiers lock the eyes and teeth in place, and shape keys drive breathing and other subtle movement.
Why It’s Worth Watching
This is the same pipeline used on real creature-VFX shots, just scaled down to one artist working in free software. If you’ve been wanting to build your own monster instead of downloading one, this tutorial is a solid map for the whole trip from sculpt to shot.

Leave a Reply